Local Mode Setup
This guide walks through setting up a Wifi Porter or Porter Hospitality device in local mode — the fastest option, with Wi-Fi credentials written directly to the device. If you're not sure this is the right mode for you, see Local or Cloud: Choosing How to Set Up Your Wifi Porter first.
Step-by-Step Setup Instructions
1. Open the Porter Setup App and Tap "Get Started"
- Hold your phone against the Porter when prompted to read it for the first time
2. Choose "Standard Setup"
- Select the local/standard option (labeled "Standard setup" or "Set up without Cloud access" depending on whether you're signed in)
3. Enter Your Wi-Fi Info
- Type in your network name and password exactly as they appear on your router, or tap "Load name" to pull in the network your phone is currently connected to
- Choose the correct security type, and whether the network is hidden
4. Review
- ⚠️ Double-check the network name and password on the review screen. Capitalization and spelling matter — a single typo here is the most common reason a Porter fails to connect guests later
5. Porter Security
- Choose whether to lock the Porter to your account, preventing other phones from reconfiguring it later
- Yes — requires signing in (or creating a free account). The Porter can only be reset or reconfigured by signing into that same account. See Unlocking a Locked Wifi Porter if you ever need to undo this
- No — anyone with the app can reconfigure this Porter later
6. Name Your Location (Optional Branding)
- Give the Porter's landing page a name, and optionally customize the button label, header image, and colors
- Tap "Show config" for these advanced options — most people can skip straight to Continue
7. Program the Porter
- Tap Start, then hold your phone against the Porter when prompted ("Ready to Scan — Hold your iPhone near your Porter")
- Keep the phone steady against the device until it confirms the write succeeded
8. Print, Share, or Email the QR Code
- The app generates a printable card ("It Worked!") with a QR code and installation instructions
- If you don't have a printer handy, use the Email or Share option instead of closing the app — closing out before finishing this step means starting the whole setup over
9. Test It
- Before you walk away, open your phone's camera and point it at the printed QR code
- You should be prompted to join the network. If you see an error, go back a few screens and double-check the password
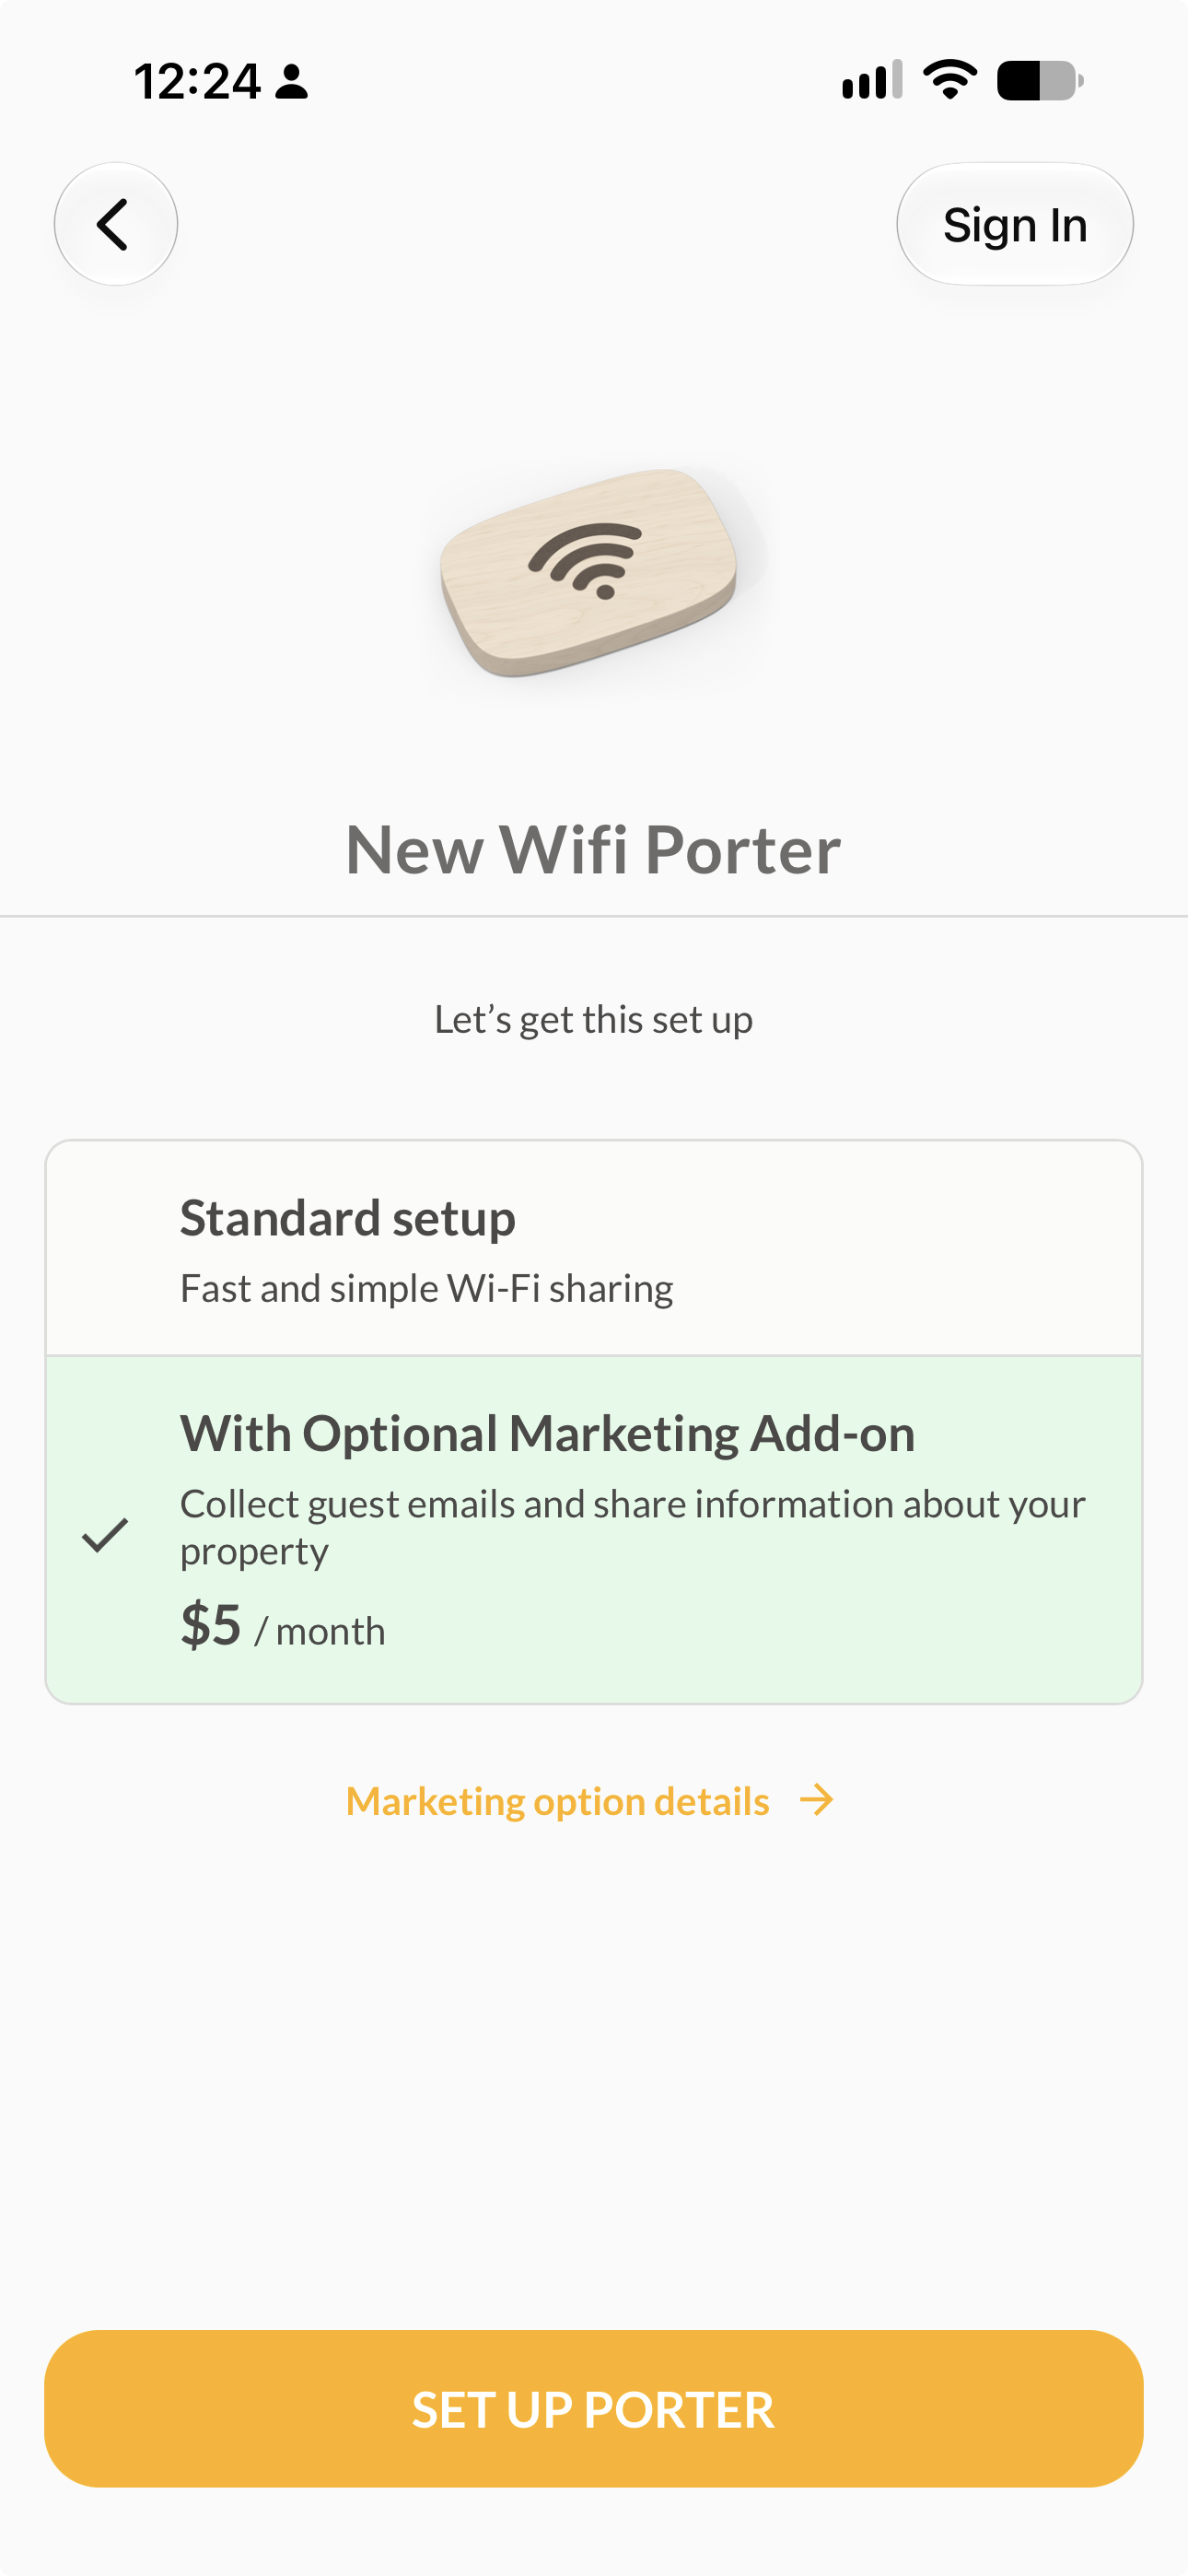
Screenshot: Step 2 — choosing "Standard setup"
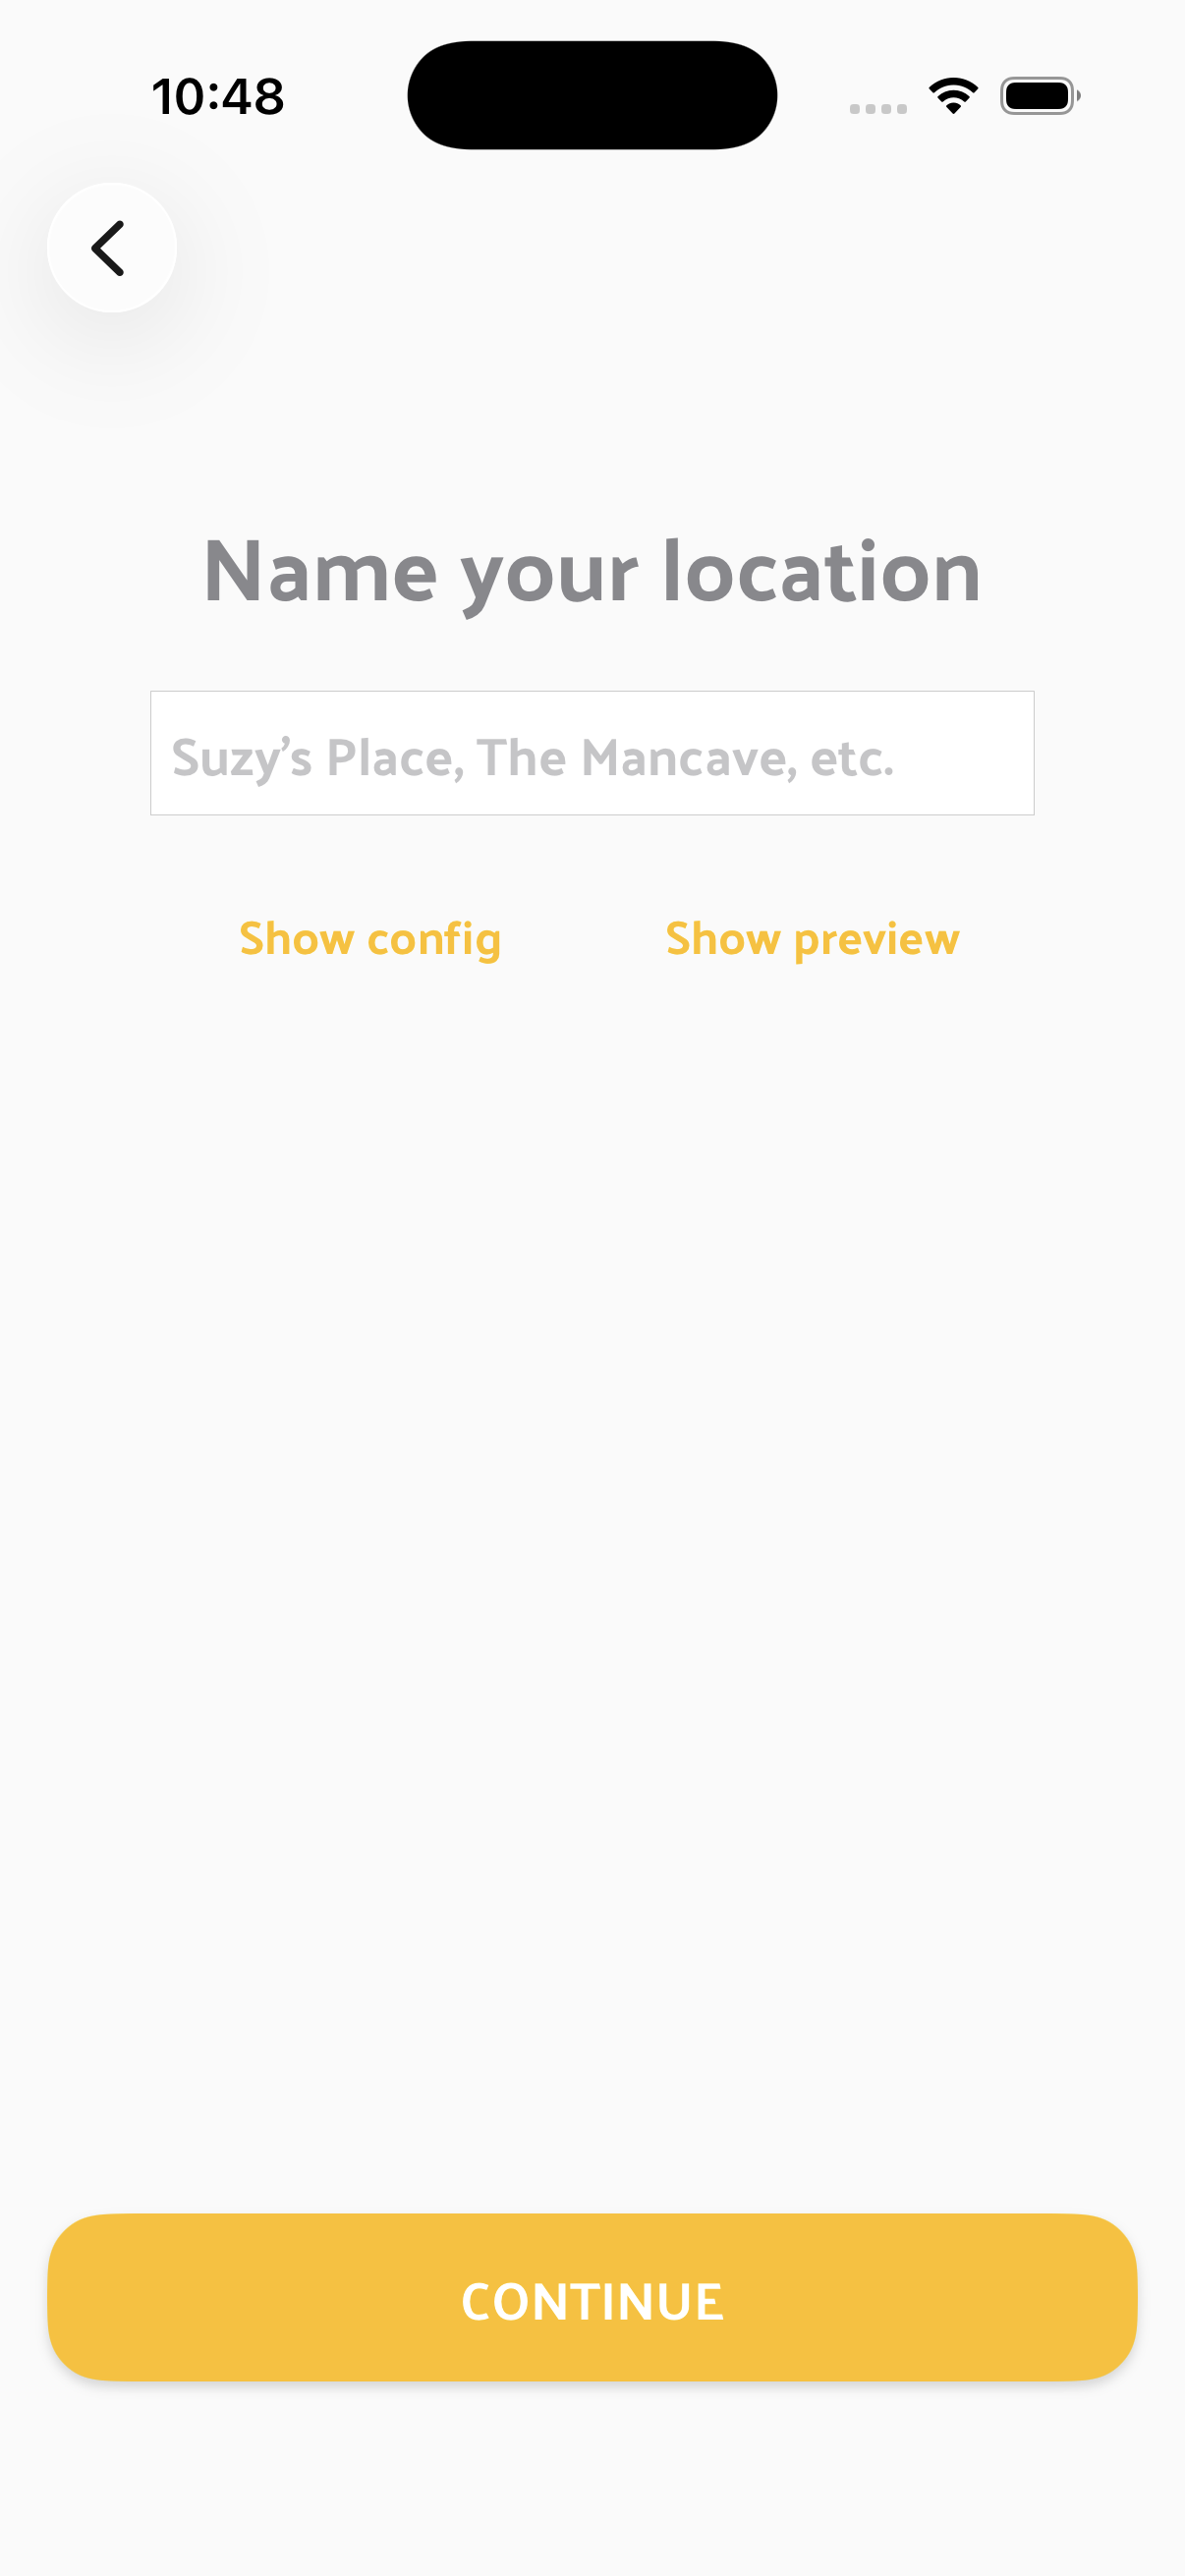
Screenshot: Step 6 — naming your location
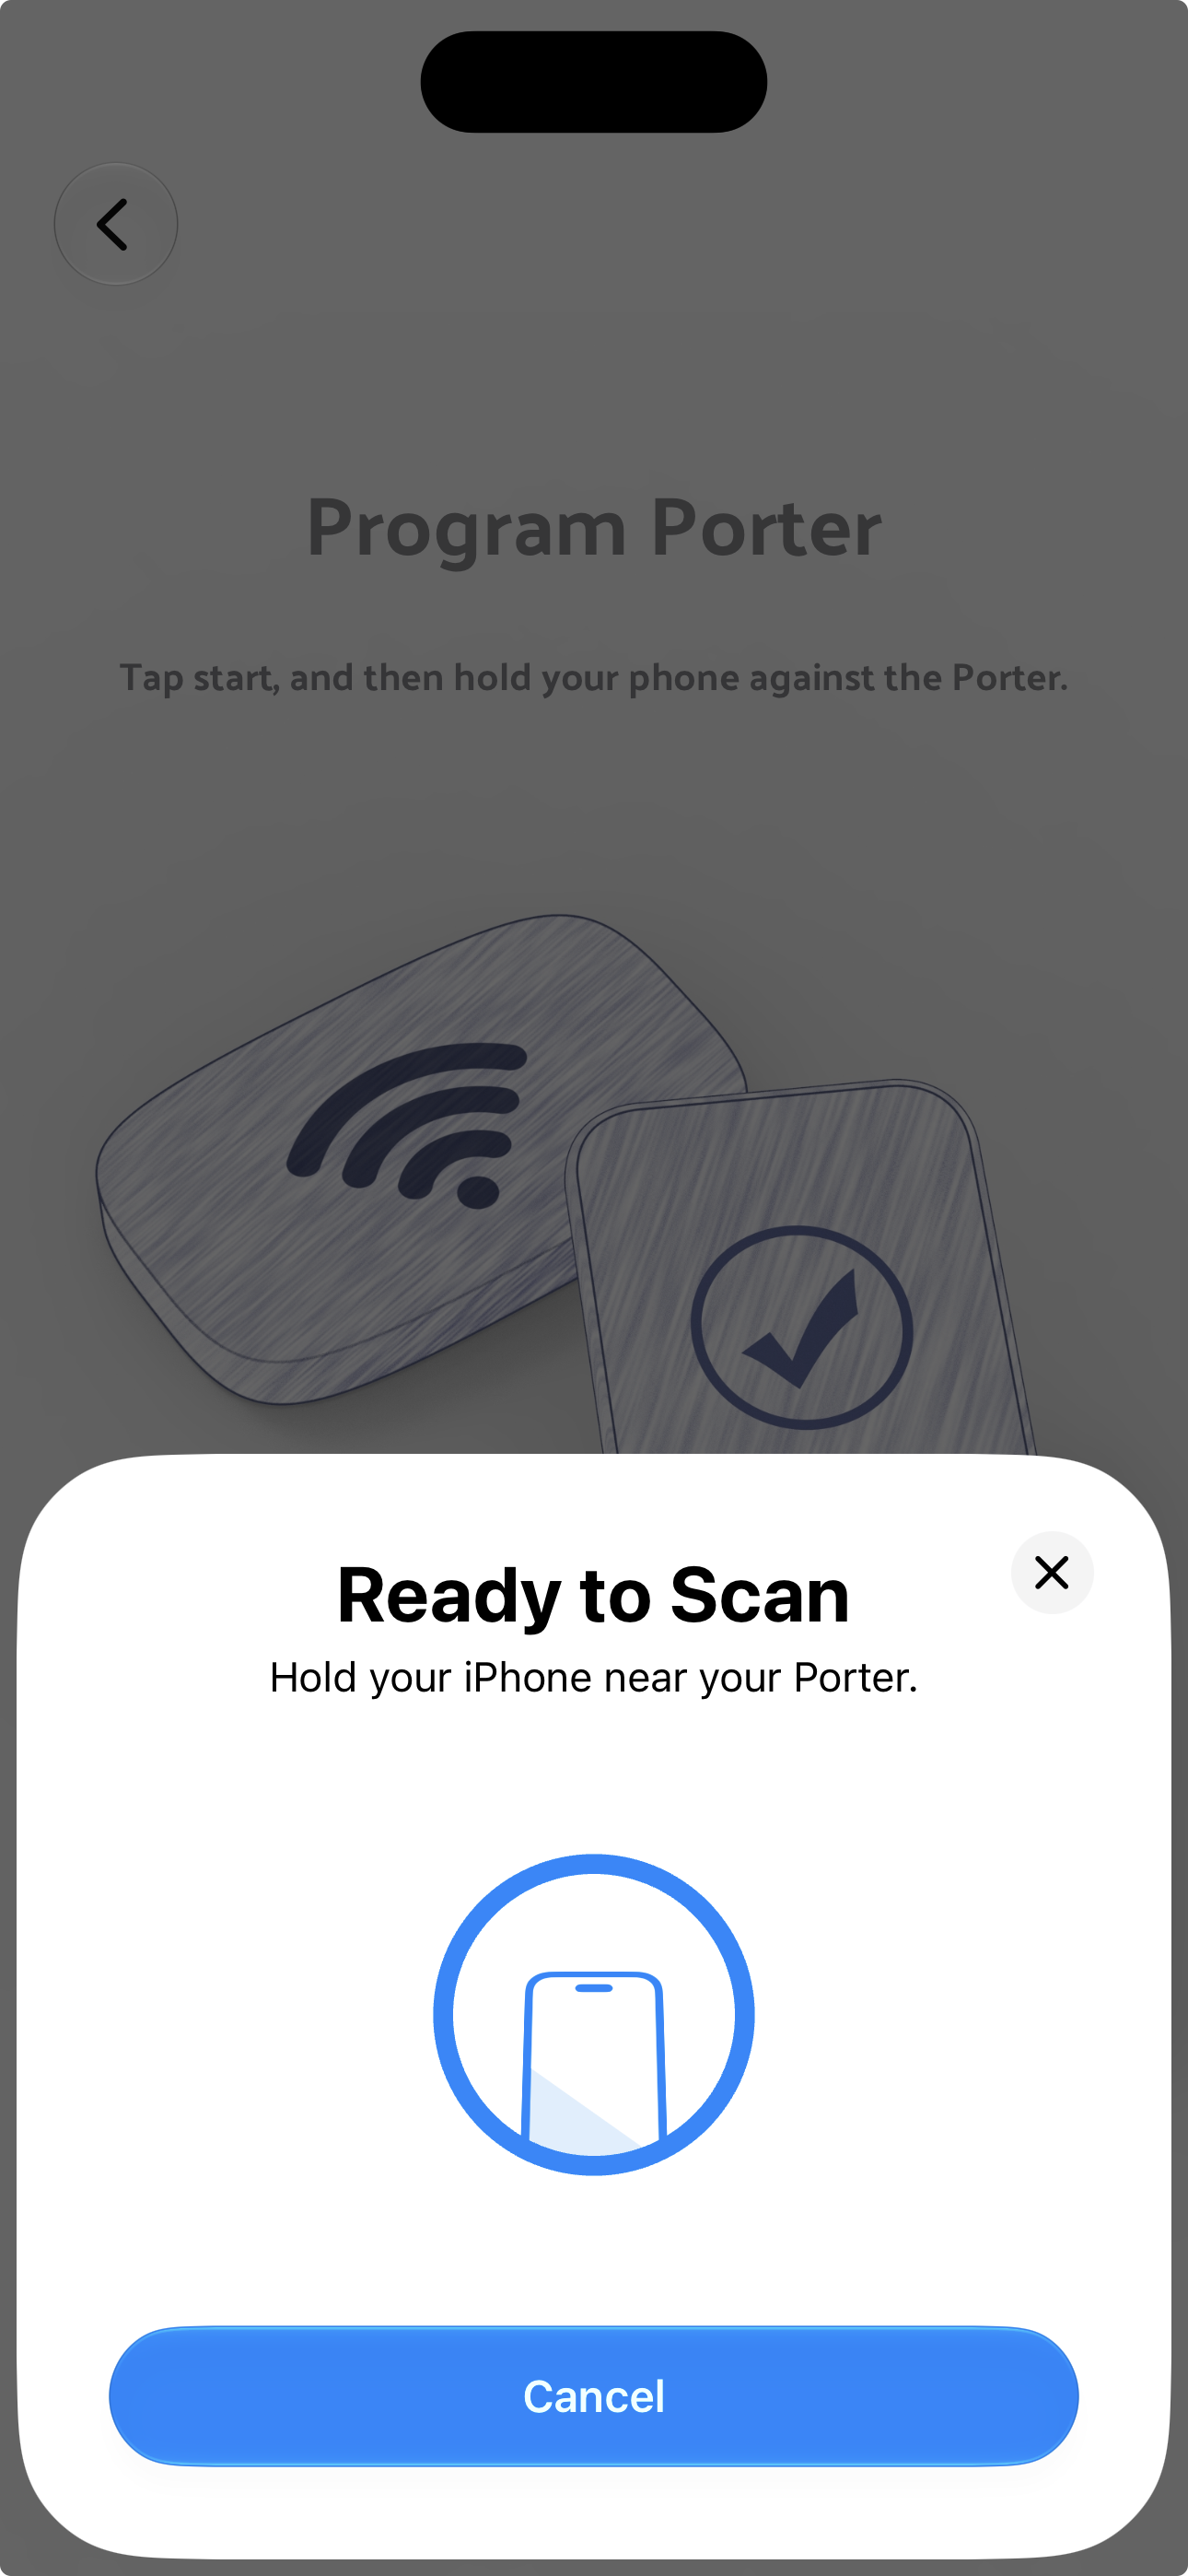
Screenshot: Step 7 — "Ready to Scan," holding your phone against the Porter
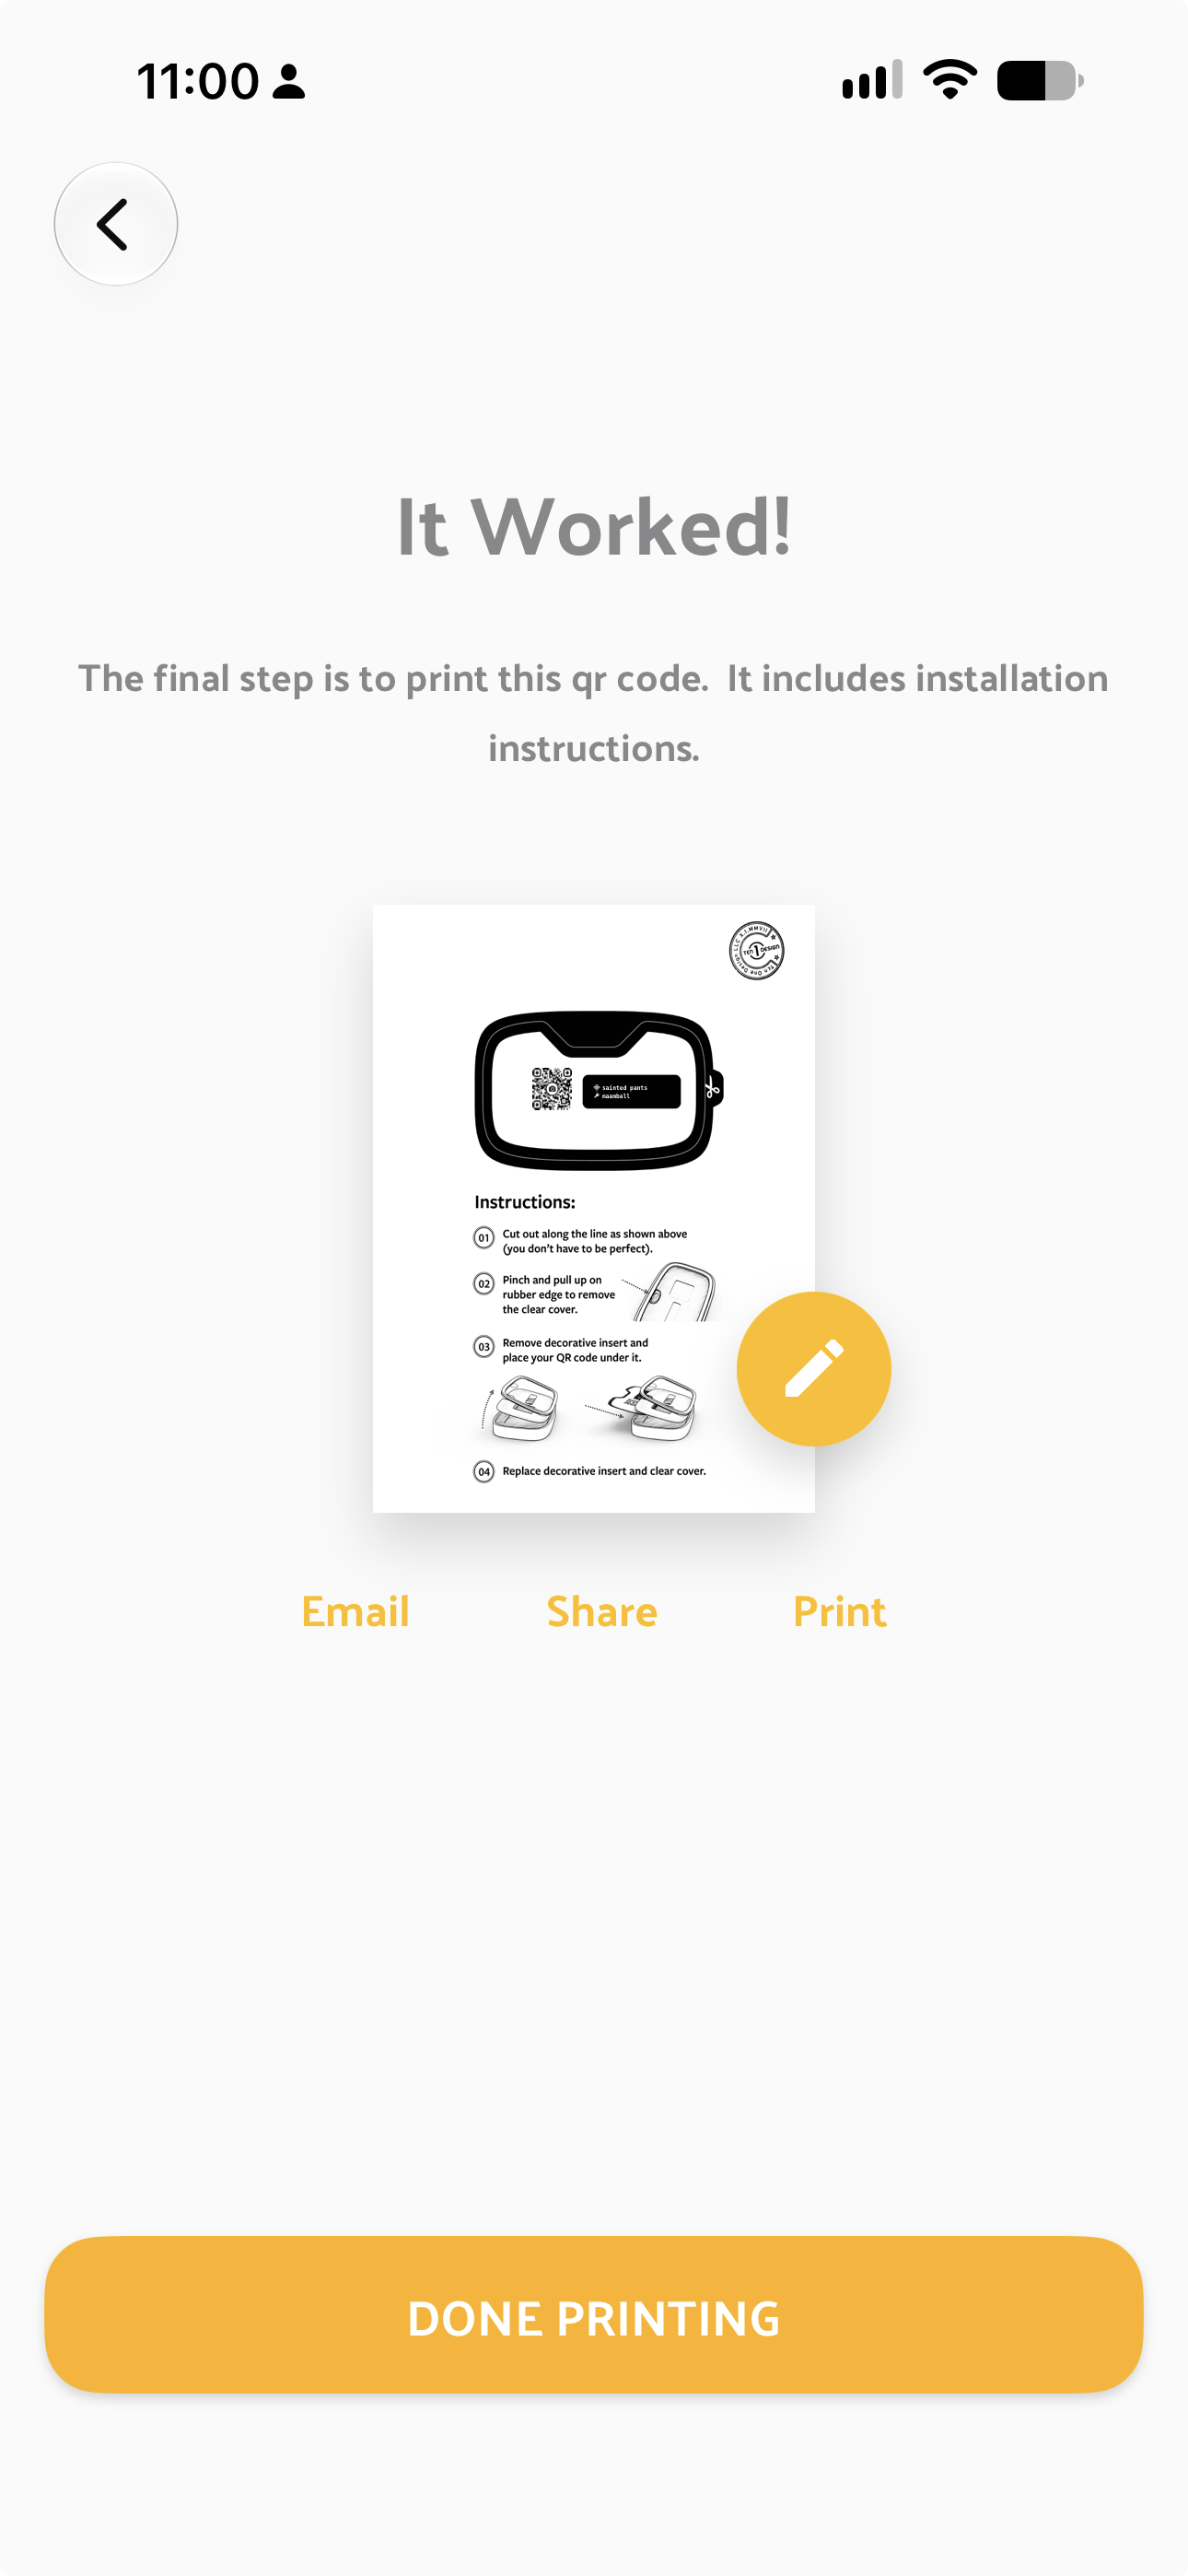
Screenshot: Step 8 — "It Worked!" print/share/email screen
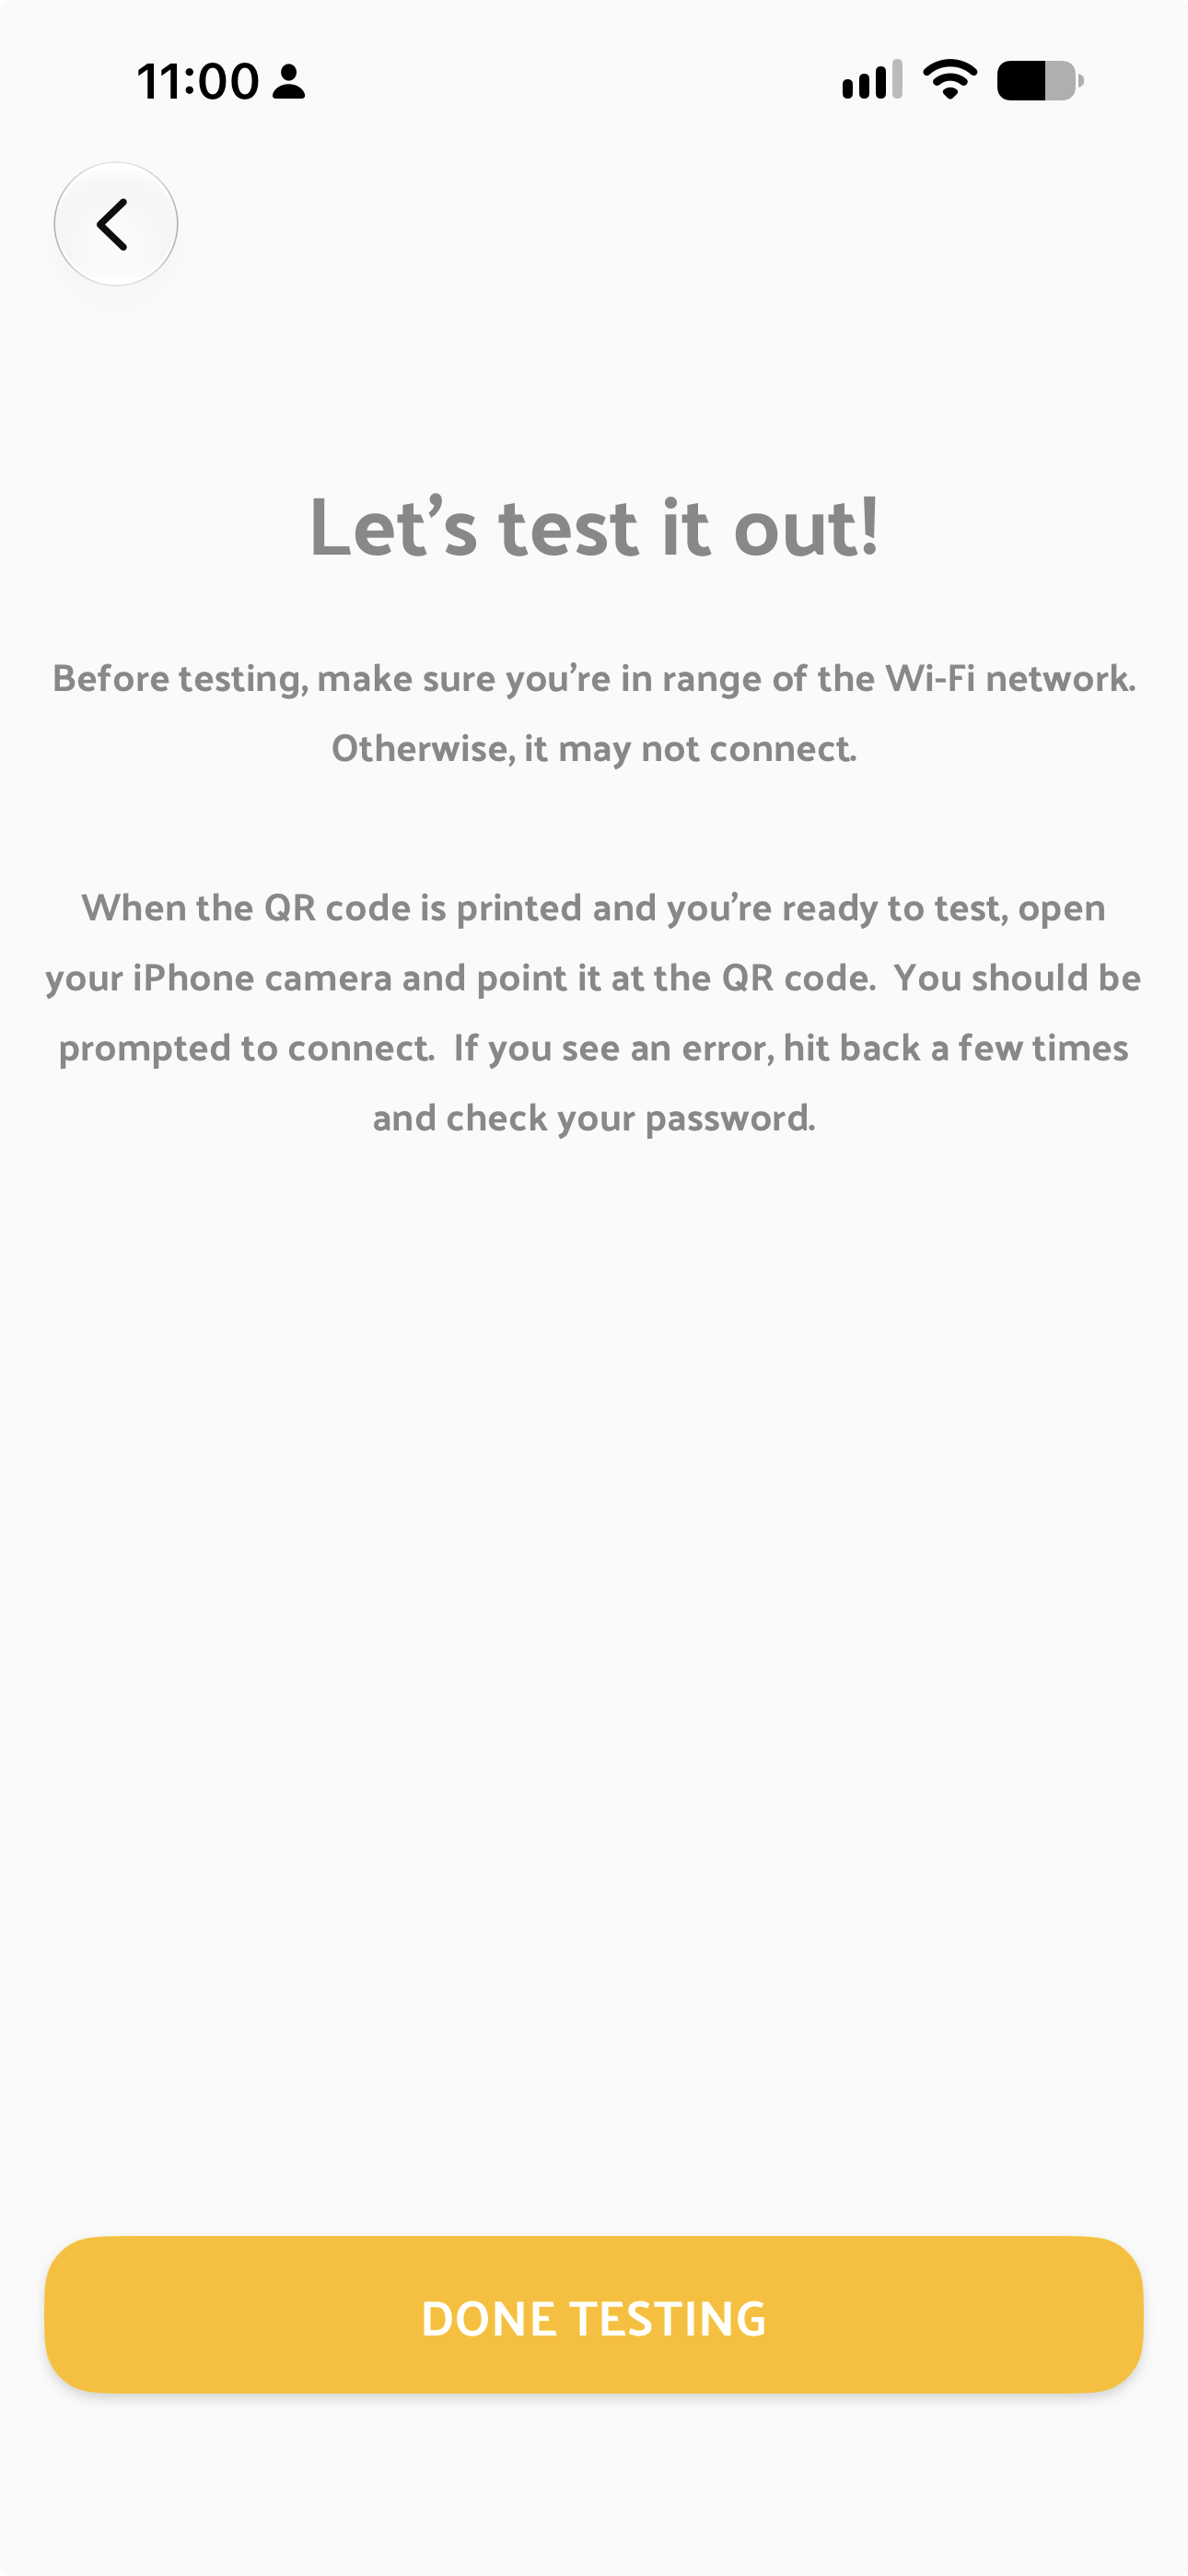
Screenshot: Step 9 — "Let's test it out!"
✅ Setup complete. You can program another Porter with the same Wi-Fi info right away, or tap Done.
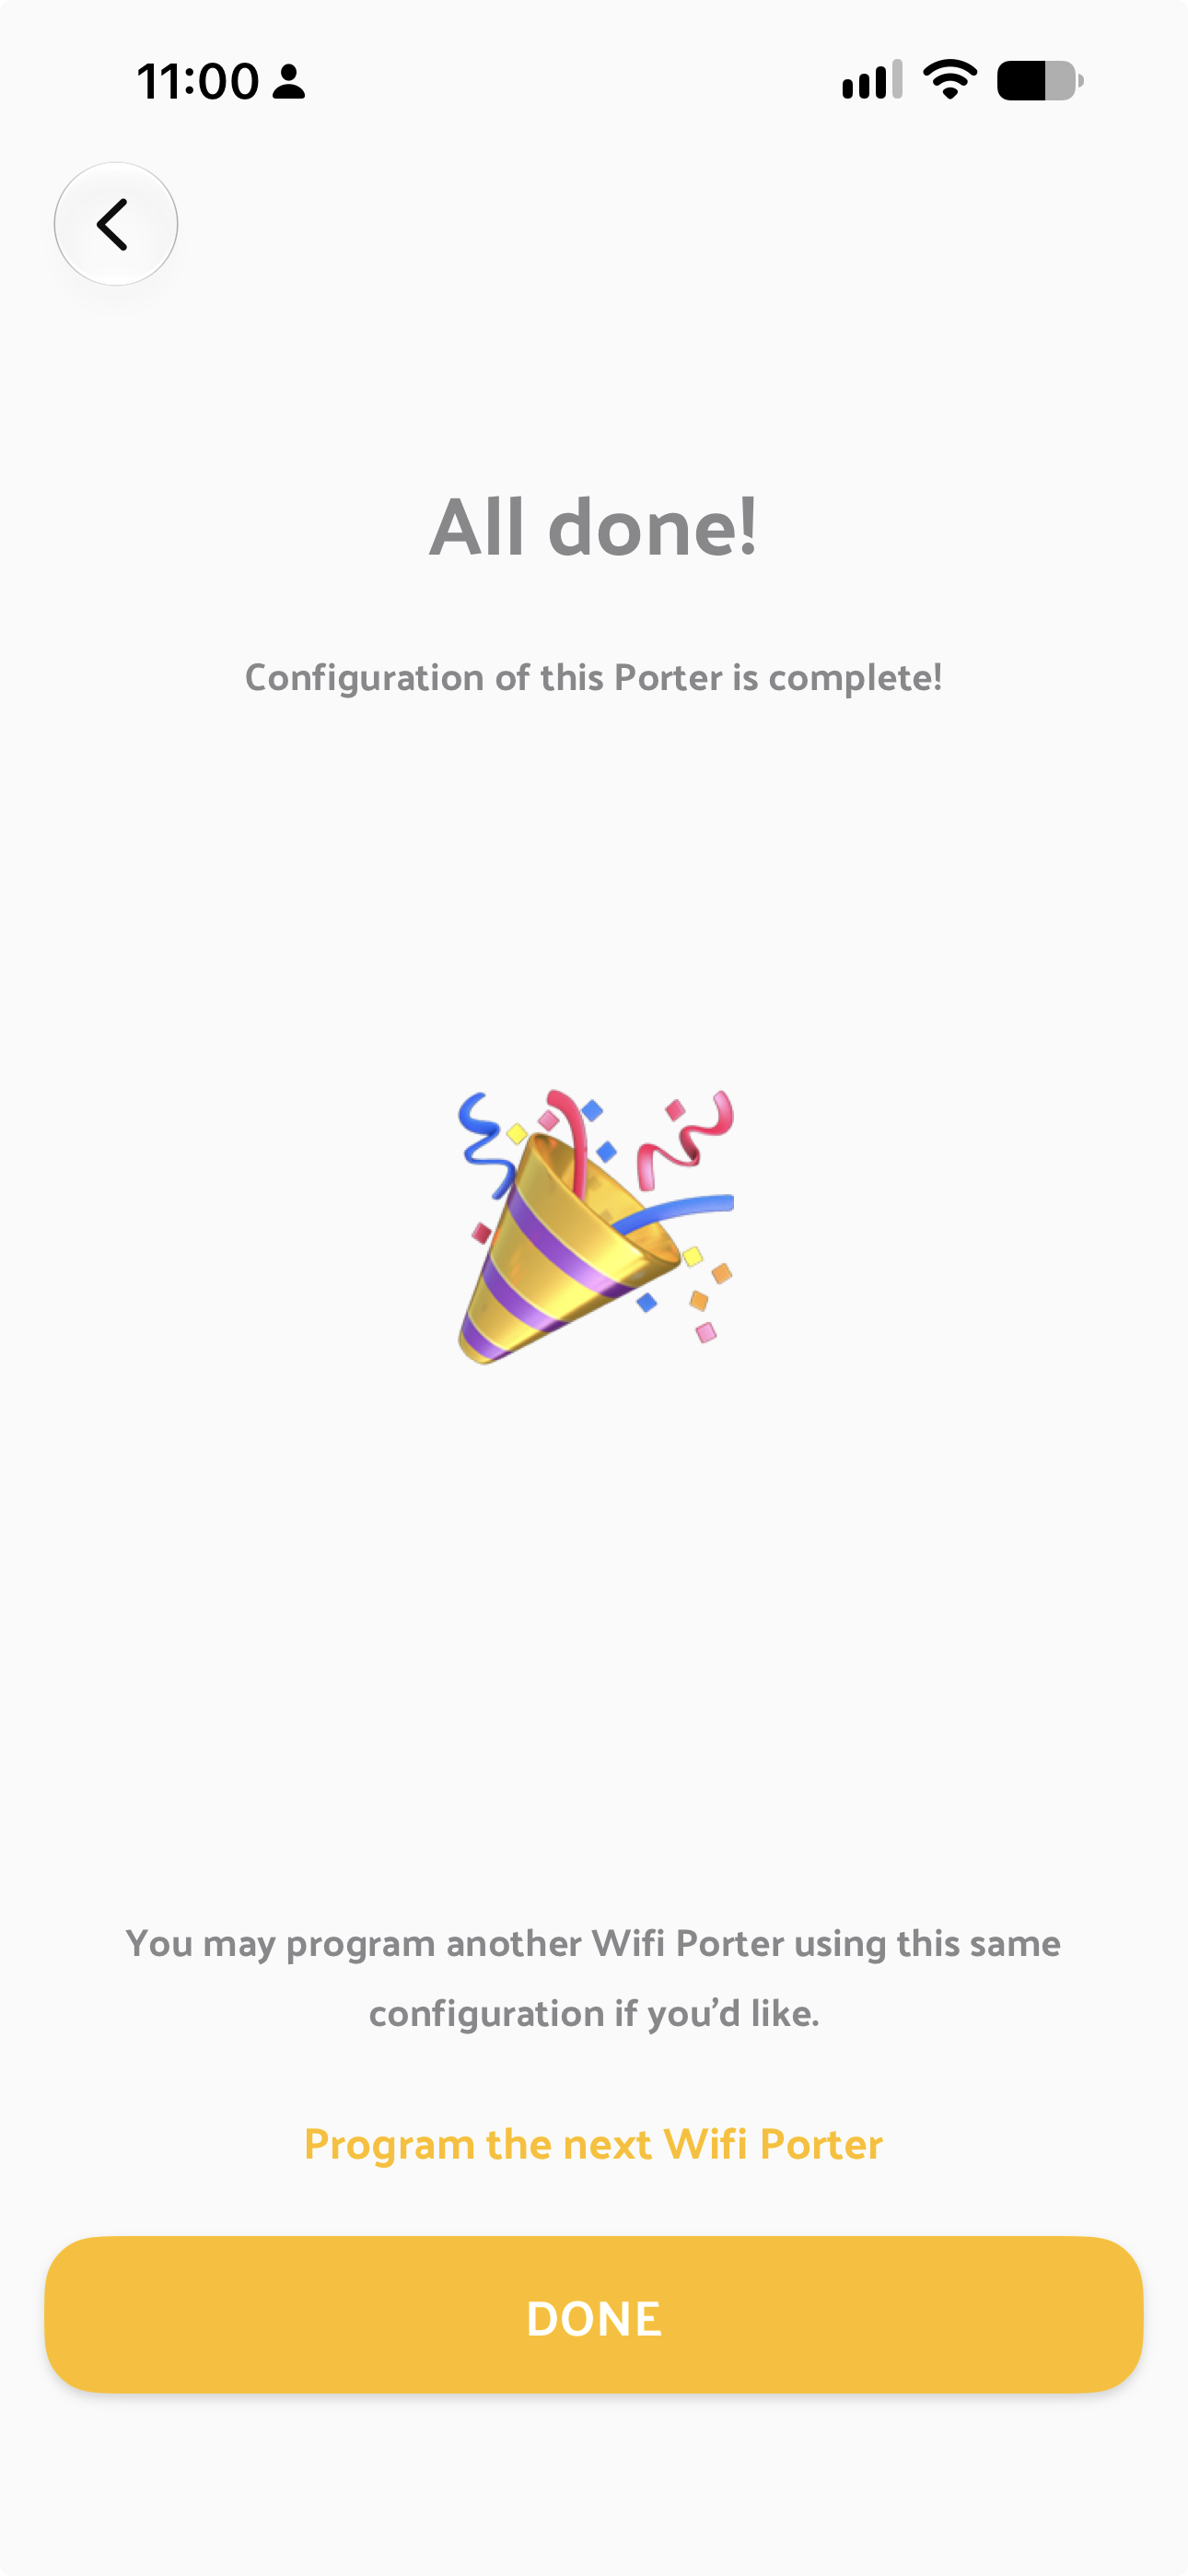
Screenshot: The "All done!" confirmation screen
Troubleshooting Tips
| Issue | Solution |
|---|---|
| QR code doesn't prompt a Wi-Fi join when scanned | See QR Code or Tap-to-Join Won't Connect to Wi-Fi |
| Wi-Fi password changed since setup | The printed QR code and card are now out of date. You'll need to reprogram the Porter with the new password — local mode credentials live only on the device itself. |
| Setup was interrupted (e.g. no printer available) | Reopen the app and select the Porter again from the app menu to pick up where the QR/print step left off, rather than restarting from scratch. |
| "Porter is locked" message appears during setup | See Unlocking a Locked Wifi Porter |
Need Additional Help?
If you run into trouble during setup, contact our support team (info@tenonedesign.com) with the Porter's ID (found in the app's device list) and what you've already tried.
Was this article helpful?
That’s Great!
Thank you for your feedback
Sorry! We couldn't be helpful
Thank you for your feedback
Feedback sent
We appreciate your effort and will try to fix the article